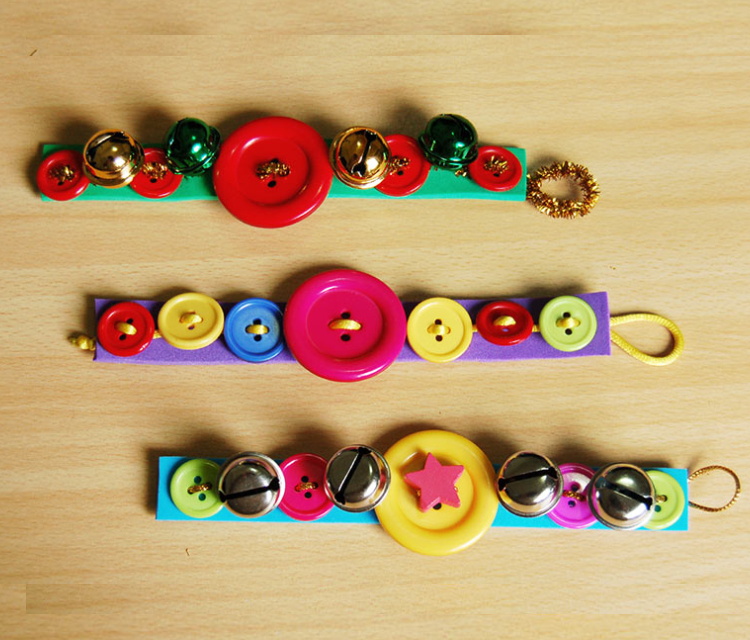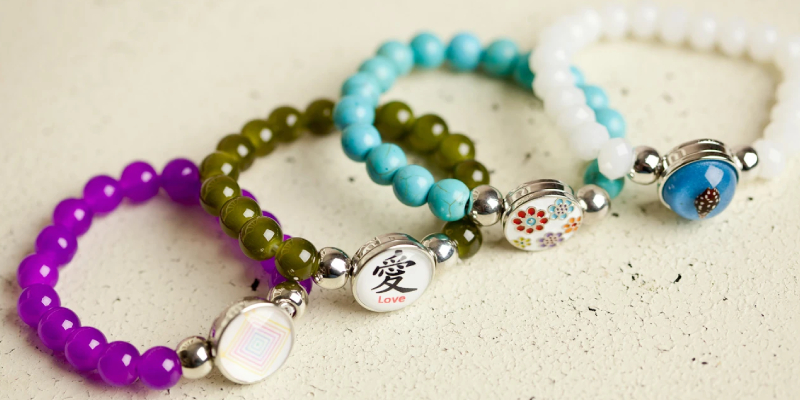
Do you have packs of buttons that are not being used in your sewing basket? Well, in this blog, let us discuss how to make beautiful crafts with buttons. We have shared a few methods to make bracelets using buttons. You can follow any method you prefer and convert your colorful buttons into attractive bracelets. Are you ready to explore 2 simple ways to make a button bracelet?
Method 1: Simple Button Bracelet
Things you need
- Scissors
- String
- Buttons
First, collect all your unused and spare buttons. Pick the buttons that you think you can use for making a bracelet. You can pick as per your preferences by shape, color, sizes, etc. if needed, you can also combine buttons of different colors and sizes to make this bracelet. Planning the design is an important thing to do.
Uncover More About : Single Use Plastics – Put To Good Use
Take a long string. The size of the string should be lengthier than your wrist. It is best to measure if you are doubtful.
Thread the string from side to side of the buttonholes. You can make patterns if you wish. The patterns mostly depend upon your creativity. If needed, you can use knick knacks like charms, beads, etc.
As you thread five or six buttons, you have to see the length by placing it on the wrist. Check whether it is of appropriate size. It is near the ends that you have to either take off or add buttons. Continue to do so until the bracelet completes your wrist perfectly.
Once you complete, tie the two strings and you are done. It is how you can easily make crafts with buttons in a quick time. If needed, you can burn the ends to prevent fraying. Ensure to be careful when you are sealing the ends of the string with fire.

Method 2: Stretchy bead and button bracelet
Things you need:
- Clean working surface
- Beads about 20
- Buttons about 20
- Scissors
- Elastic cord 10 inches in length
Choose the buttons and beads as you wish. If you want to make a bracelet in a standard size, you should take about 20 buttons along with the same number of beads. Select the beads and buttons as per your pattern preference. We have shared some suggestions that you can make use of:
- Select different types of buttons or beads in the same color or all in a single color
- Select beads in one color and buttons in another color
- Select different colors like a rainbow spectrum or changing color patterns
- Select differing sizes or all in the same size. You can use them randomly or in a specific order. But ensure to plan before starting.
We suggest you use beads of the same sizes so that it remains attractive.
Take an elastic cord. Slice the cord to approximately 10 inches or 25 cm in length. Now, tie a knot at the end of the cord. It helps in preventing beads and buttons from slipping off when you do the bracelet. The knot should be tied 2 inches inside at the end of the cord.
Next, thread the buttons and beads on the cord. Ensure it stands upright when you thread the button. It should not sit along the cord. The beads help in keeping the button in the right position. Continue to alternate the threading button and bead.
Continue until it fits appropriately to your wrist. If needed, you can check as you do. At times, you may not require all the buttons and beads. Leave a gap of 2 inches or 5 cm at the end of elastic.
Now tie the two ends. You can use either a reef knot or a double knot. If you do not tie properly, there are chances for breakage.
Cut the extra ends and wear the bracelet and check whether it sits tight and neat.
To wear, you just have to slightly stretch and get over your hand. That’s all. You are done.
Tips for making button bracelets
You can add charms, knickknacks, beads and other decorations and make patterns to create attractive button bracelets. You have a lot of options when it comes to selecting beads and buttons.
If possible, you can also make necklaces by following the same patterns or color themes as the bracelet. It goes well with your bracelets and you can use them together whenever needed.


